
Lost in Documentation? Let Our Docs Recommendation System Guide You Along!
You’re probably familiar with the situation of trying to read through the new documentation, which can often be messy and hard to navigate through. And at a certain point, you find yourself stuck and unsure about the next page to visit in your learning process. With the guidance of the Docs Recommendation System, the decision of choosing the next page is just one click away. With more than ten recommendations to choose from, it’s now easier to keep track of similar documents that suit your needs!
In this blog post, you can find out how to scrape documentation of your choice, extract content from the webpage and use it to build a recommendation engine with the help of various algorithms like TF-IDF, node2vec and link prediction. Also, if you want to find out which page is the most influential within the documentation, there is a PageRank algorithm to help you out.
Prerequisites and application setup
The application consists of two main parts - the backend built with Python Flask and the frontend built with React.
To build and start the application, you will need:
- The MAGE graph library - for graph algorithms
- GQLAlchemy - a Python driver and Object Graph Mapper (OGM)
- Docker - for building and running the application in a container
- Node.js - for creating the React app
- Memgraph Lab for graph visualizations.
To start the application, follow these steps:
- Clone our project’s Git repository
- Position yourself in the local repo directory
- Start Docker
- Open a new command prompt and run the following commands:
docker-compose build
docker-compose up
Finally, you can check out the application at localhost:3000. If everything goes as planned, the application should look like this:
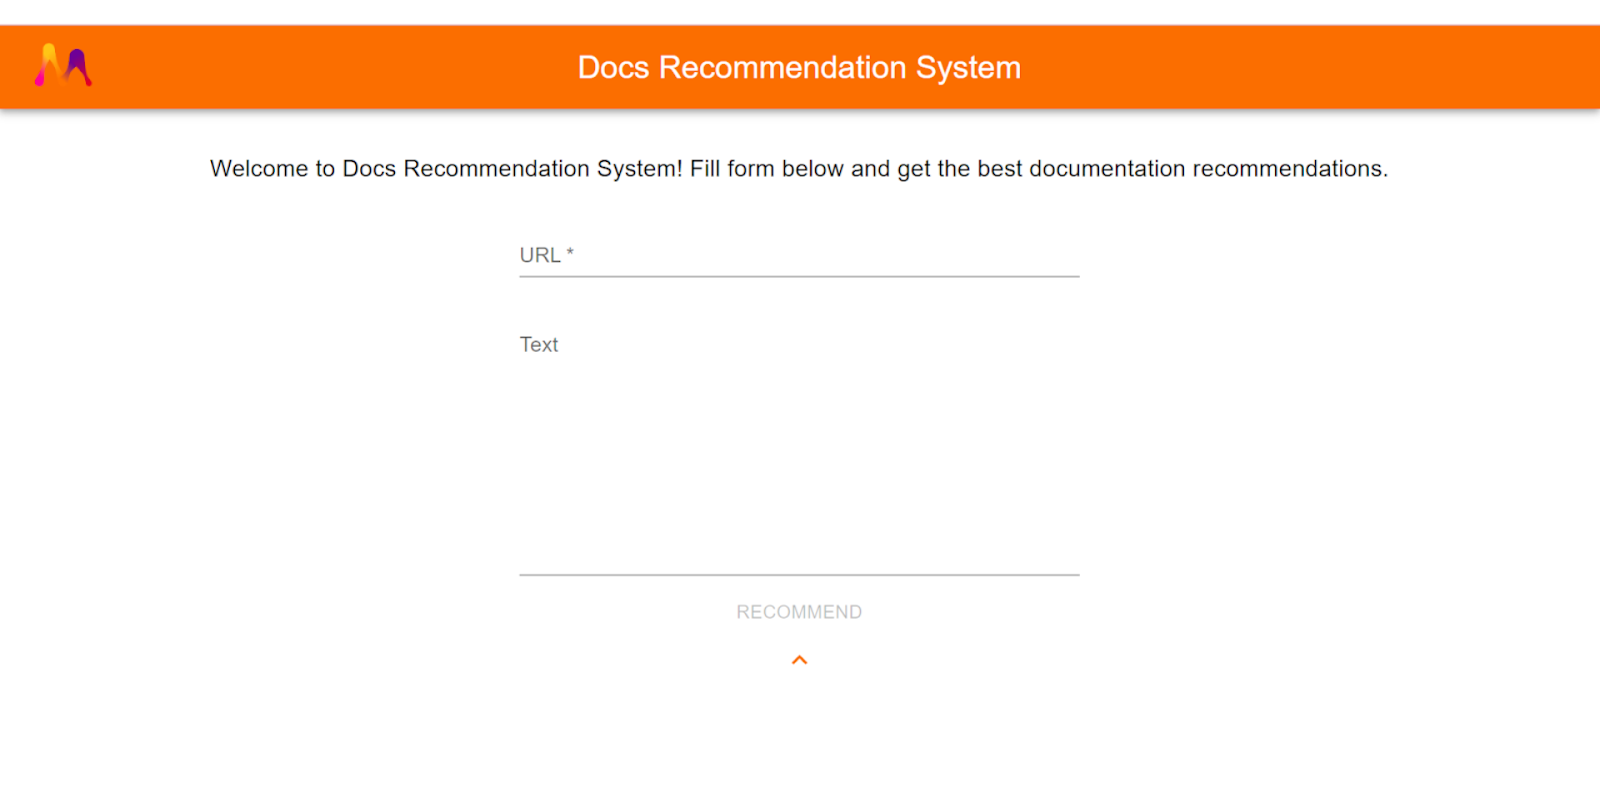
As you can see, there are two possible inputs. The first one is the URL of the desired documentation and that’s an obligatory input. Below that, there is an option of adding some text in case you want to find documents that are similar to it. And that's it! Keep in mind that if you don’t provide the second input, then the recommendations will be based on the extracted text from the HTML of the input URL.
So far we have everything up and running, and before we show you the final output, let’s see what’s really happening under the hood.
Scrape away
The first step, after you click on the RECOMMEND button, is to scrape the documentation provided with the input URL. From that URL, the HTML content is extracted by using Python’s BeautifulSoup library. In that content, we search for the “href” HTML tag in order to find the other links. The links are first compared with the domain of the input URL (we want recommendations to be within the same documentation), then validated and finally ready for further processing.
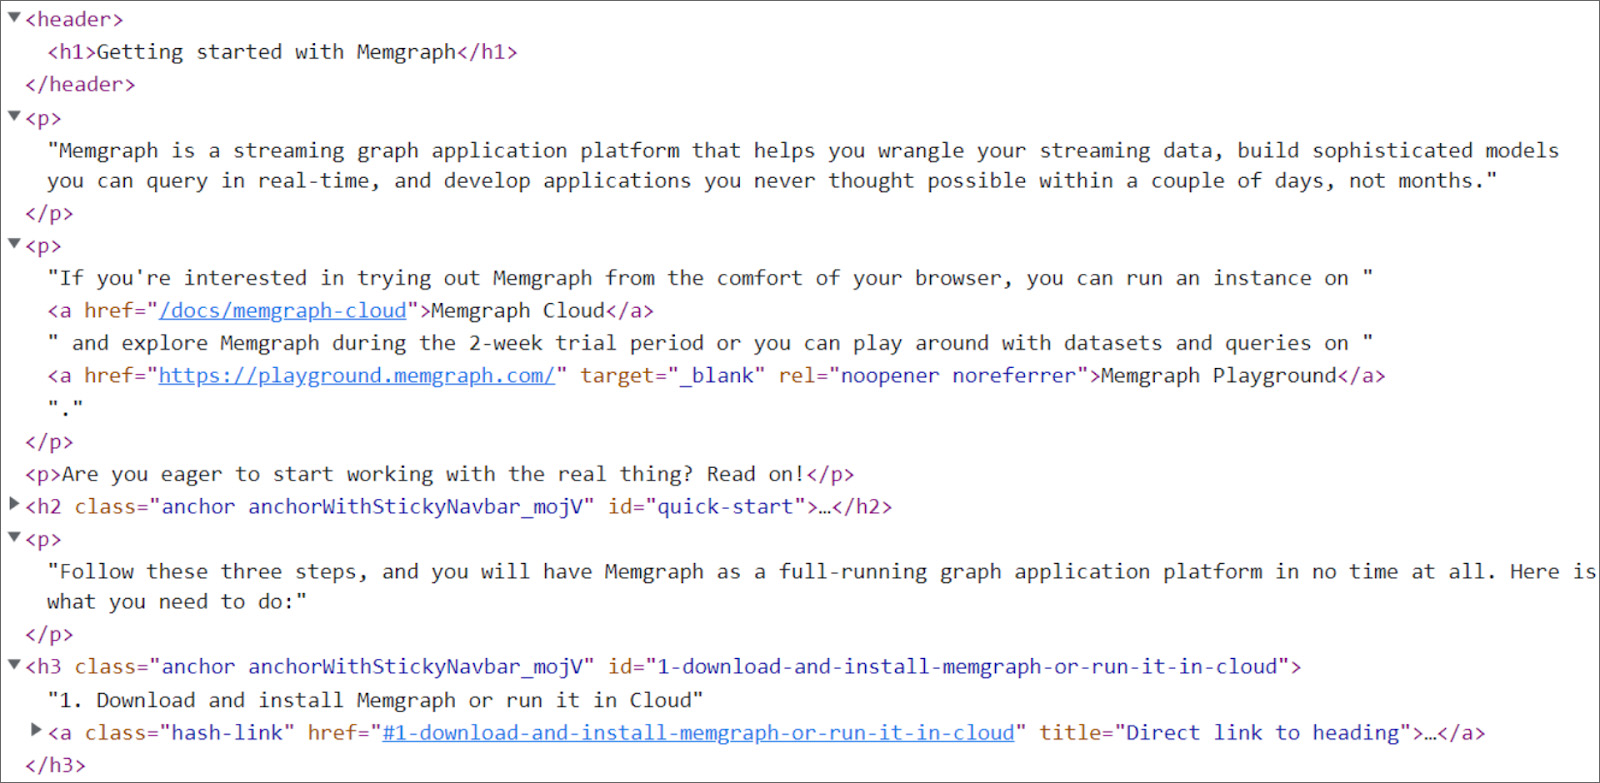
After we manage to get all links to web pages within the documentation, it’s time to start getting the textual content of those pages. To achieve that, we use the jusText Python module, which helps to remove the unnecessary boilerplate content such as headers, sidebars, footers, navigation links, etc. What's left is the actual text with full sentences that is used to create our recommendation models.
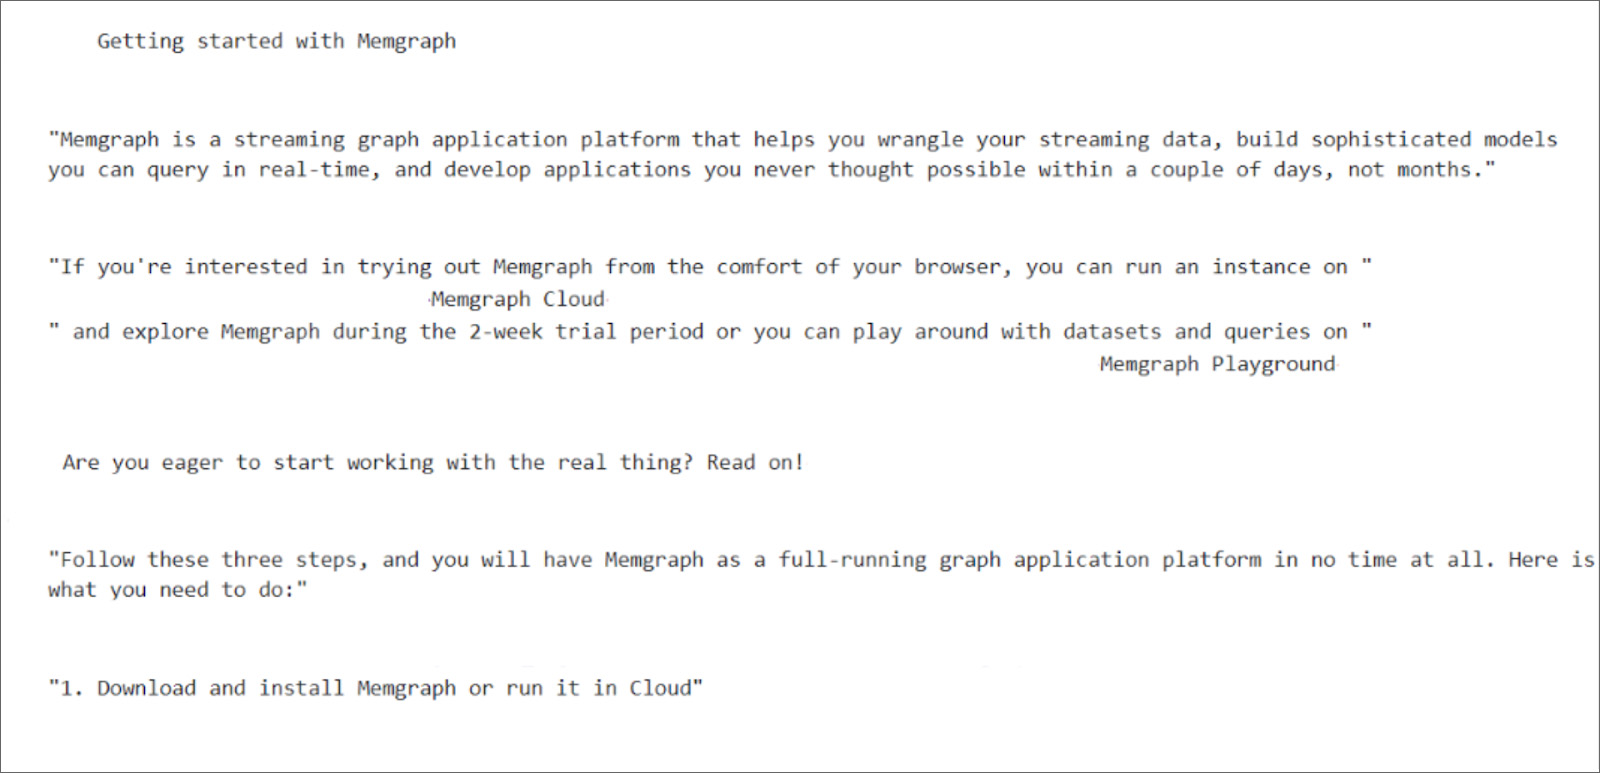
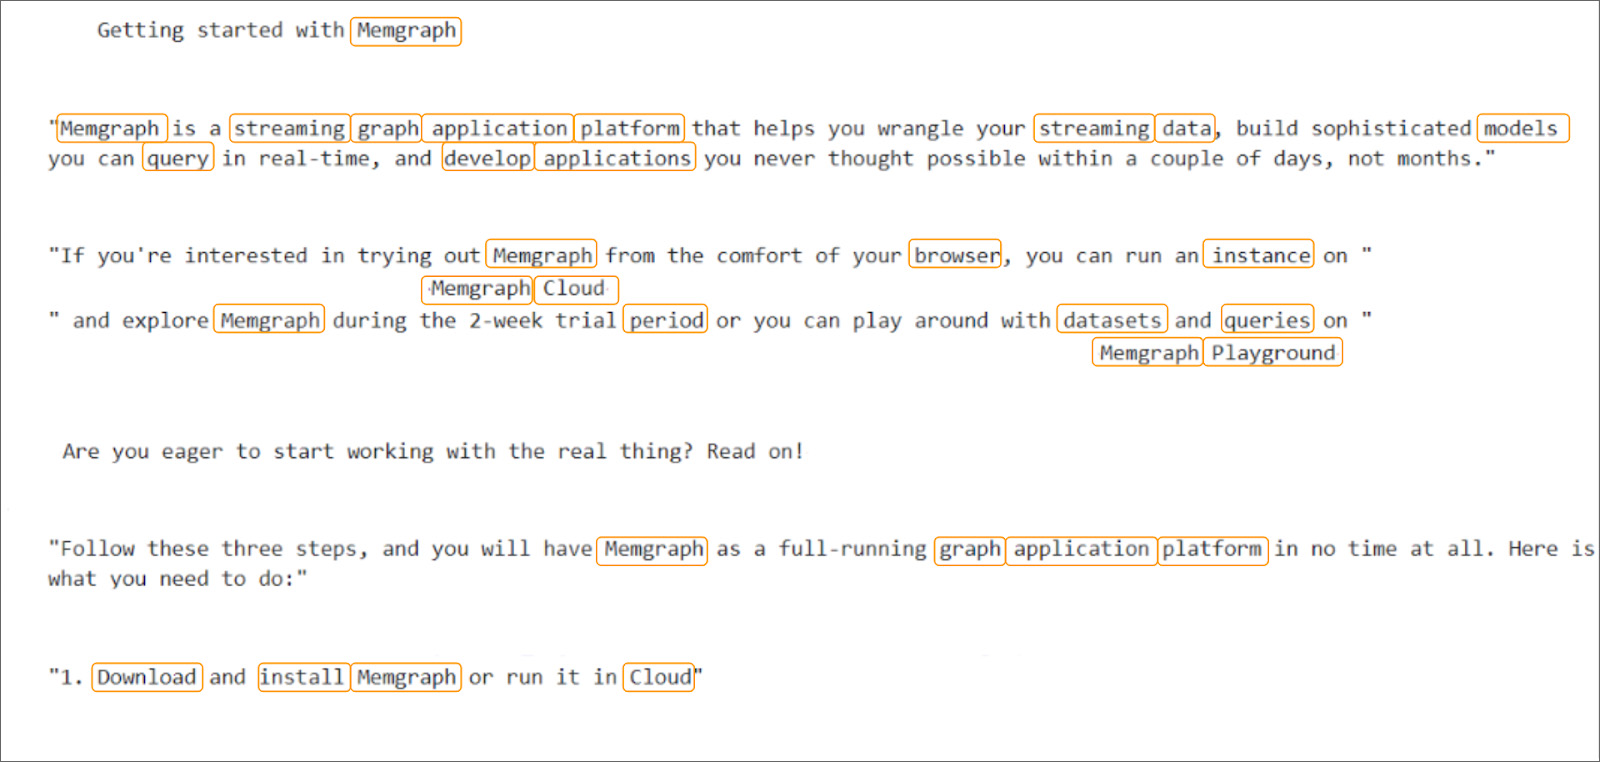
Next, the final step in text pre-processing is to convert the text to lowercase, split it into words, discard all stopwords and numbers, and lemmatize each word to its base form called lemma, since we don’t want our recommendation engine to treat words like, for example, “playing” and “play” differently.
Now that the text is “cleaned up” and ready to use, it’s time to actually get the most important part - the keywords from each document. And that's where our first model comes into play.
TF-IDF algorithm - the baseline model
Some of you may have heard of or used the NLP algorithm called TF-IDF (term frequency-inverse document frequency). Long story short, the algorithm describes the importance of words in a document amongst a collection of documents (corpus) by computing a numerical value for each word. As the name may suggest, the algorithm takes into account two main factors: tf score and idf score. Those two are defined as follows:

Finally, we can compute the tf-idf value as 
Since we have the tf scores, we can use them to get the most important words from each document, i.e. the keywords which we will need for the node2vec algorithm.
Having computed the tfidf scores for each word among all documents, it was time to calculate the similarity between the base document (extracted from the HTML of the page provided with the input URL or the text of the second input if provided) and the rest of the documentation. And that job was pretty straightforward. Basically, each document is represented by a vector whose elements are the tfidf scores of each word within the documentation. Now, since we have an abstract representation of a document as a vector, we can compute the cosine similarity between the vectors and find out which documents are most similar to the base document. And that’s it! We have the baseline model which recommends other similar web pages within the documentation. Now it’s time to build the other two models using MAGE graph algorithms and compare the results with this model.
Keywords are finally extracted using the TF-IDF keyword extraction and each page obtained from the HTML content of the input URL now has its own set of most important words. It’s time to put them to use with the Magic of Graphs!
Build a graph in Memgraph’s database
First, let’s do all necessary imports and create an instance of the database:
from gqlalchemy import Field, Memgraph, Node, Relationship
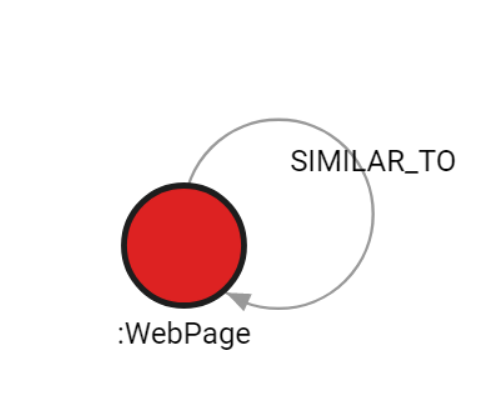
After that, we instantiate Memgraph and using Object Graph Mapper createe classes representing the nodes and relationships between them. We create WebPage nodes that are in SimilarTo relationship:
memgraph = Memgraph()

class WebPage(Node):
	url: str = Field(index=True, exist=True, unique=True, db=memgraph)
	name: str = Field(index=True, exist=True, unique=True, db=memgraph)

class SimilarTo(Relationship, type=”SIMILARTO”):
	pass*
Next, we need to save the nodes of the graph in the database. Each node represents one link scraped from the HTML content of the input URL. Properties of the nodes are the name of the node, which is shortened version of the link, and the url. Nodes are created and saved with:
WebPage(name=name, url=url).save(memgraph)
Now that we populated Memgraph’s database with nodes, how do we create relationships between them? As mentioned, each page has its own set of keywords. Using those keywords we create a similarity matrix between each page using Jaccard similarity. In other words, the more the keywords of pages intersect, the more similar they are. Relationships are now created based on that similarity matrix:
s_node = WebPage(url=start_url, name=start_name).load(db=memgraph)
e_node = WebPage(url=end_url, name=end_name).load(db=memgraph)

if start_url != end_url:
	similar_rel = SimilarTo(
		_start_node_id = s_node._id,
		_end_node_id = e_node._id
		).save(memgraph)
In the picture below, you can see the implict scheme of the database:
Finding the best recommendations
After having a structured graph, the rest of the work is made easier for us with the already implemented MAGE graph algorithms, such as node2vec.
If you are unfamiliar with node2vec or node embeddings in general, we suggest exploring blog posts introduction to node embedding (to check out what node embeddings are) and how node2vec works (to fully understand the algorithm) for a deeper understanding.
Node2vec has a procedure called set_embeddings() in the module, which we will use to set a list of embeddings in the graph as a property. All we need to do is execute the following query:
CALL node2vec.set_embeddings(False, 2.0, 0.5, 4, 5, 2) YIELD *;
If you are unsure about what parameters to use, check out node2vec parameters. Now that the embeddings are set as one of the node properties, we can start with the calculations for the recommendations. First, we need to get those embeddings from Memgraph’s database:
from gqlalchemy import Match

# exports "embedding" property from all nodes in Memgraph db
def get_embeddings_as_properties() -> Tuple[List[Dict[str, Any]], Dict[str, List[float]]]:
    embeddings: Dict[str, List[float]] = {}

    results = list (
        Match()
        .node("WebPage", variable="node")
        .return_(
            {"node.name" : "n_name", "node.url" : "n_url", "node.embedding" : "n_embedding"})
        .execute()
    )

    for result in results:
        embeddings[result["n_name"]] = result["n_embedding"]

    return results, embeddings
Using retrieved embeddings, we can now calculate the similarity between nodes. For every pair of node embeddings, we calculate cosine similarity to check how similar two-node embeddings are and keep those calculations in an adjacency matrix. And that’s it! All that’s left to do is use obtained matrix to retrieve our best recommendations!
Link prediction
Now, let's use the node2vec algorithm once again, this time to find link prediction recommendations. First, we need to retrieve our edges from the database and split them into a test and train set. We can do that using scikit-learn library.
def get_all_edges() -> List[Tuple[Node, Node]]:
    results = Match() /
        .node(labels="WebPage", variable="node_a") /
        .to(relationship_type="SIMILAR_TO", variable="edge") /
        .node(labels="WebPage", variable="node_b") /
        .return_() /
        .execute()

    return [(result["node_a"], result["node_b"]) for result in results]

# split edges in train, test group
def split_edges_train_test(edges: List[Tuple[Node, Node]], test_size: float = 0.2) -> (
        Tuple[List[Tuple[Node, Node]], List[Tuple[Node, Node]]]):
    edges_train, edges_test = train_test_split(edges, test_size=test_size, random_state=int(time.time()))

    return edges_train, edges_test

def remove_edges(edges: List[Tuple[Node, Node]]) -> None:
    for edge in edges:
        query = Match() /
                .node(labels="WebPage", name = edge[0].name) /
                .to(relationship_type="SIMILAR_TO", variable="f") /
                .node(labels="WebPage", name = edge[1].name) /
                .delete("f") /
                .execute()
The reason for splitting edges is that we need to be able to correctly predict new edges that might appear from existing ones. In order to test the algorithm, we remove a part of the existing edges and make predictions based on the remaining set.
We will randomly remove 20% percent of edges. This will represent our test set. We will leave all the nodes in the graph, it doesn’t matter that some of them could be completely disconnected from the graph. Next, we will run node2vec again on the remaining edges to get new node embeddings and use these embeddings to predict new edges.
After edge splitting and embedding calculations, we calculate cosine similarity and adjacency matrix once again to retrieve new predictions and recommendations.
PageRank
Sometimes, you may want to measure the importance/popularity of certain web pages. Similarly, we wanted to find out which page within the documentation is the most important one. This is where the PageRank algorithm comes in hand! Below is the actual method implemented in the backend of our application:
@app.route("/pagerank")
def get_pagerank():
    """Call the PageRank procedure and return top 30 in descending order."""
    try:
        results = list(
            Call("pagerank.get")
            .yield_()
            .with_(["node", "rank"])
            .return_([("node.name", "node_name"), "rank"])
            .order_by(properties=("rank", Order.DESC))
            .limit(30)
            .execute()
        )

        page_rank_dict = dict()
        page_rank_list = list()

        for result in results:
            node_name = result["node_name"]
            rank = float(result["rank"])
            page_rank_dict = {"name": node_name, "rank": rank}
            dict_copy = page_rank_dict.copy()
            page_rank_list.append(dict_copy)

        res = {"page_rank": page_rank_list}
        return make_response(res, HTTPStatus.OK)

    except Exception as e:
        log.info("Fetching users' ranks using pagerank went wrong.")
        log.info(e)
        return ("", HTTPStatus.INTERNAL_SERVER_ERROR)
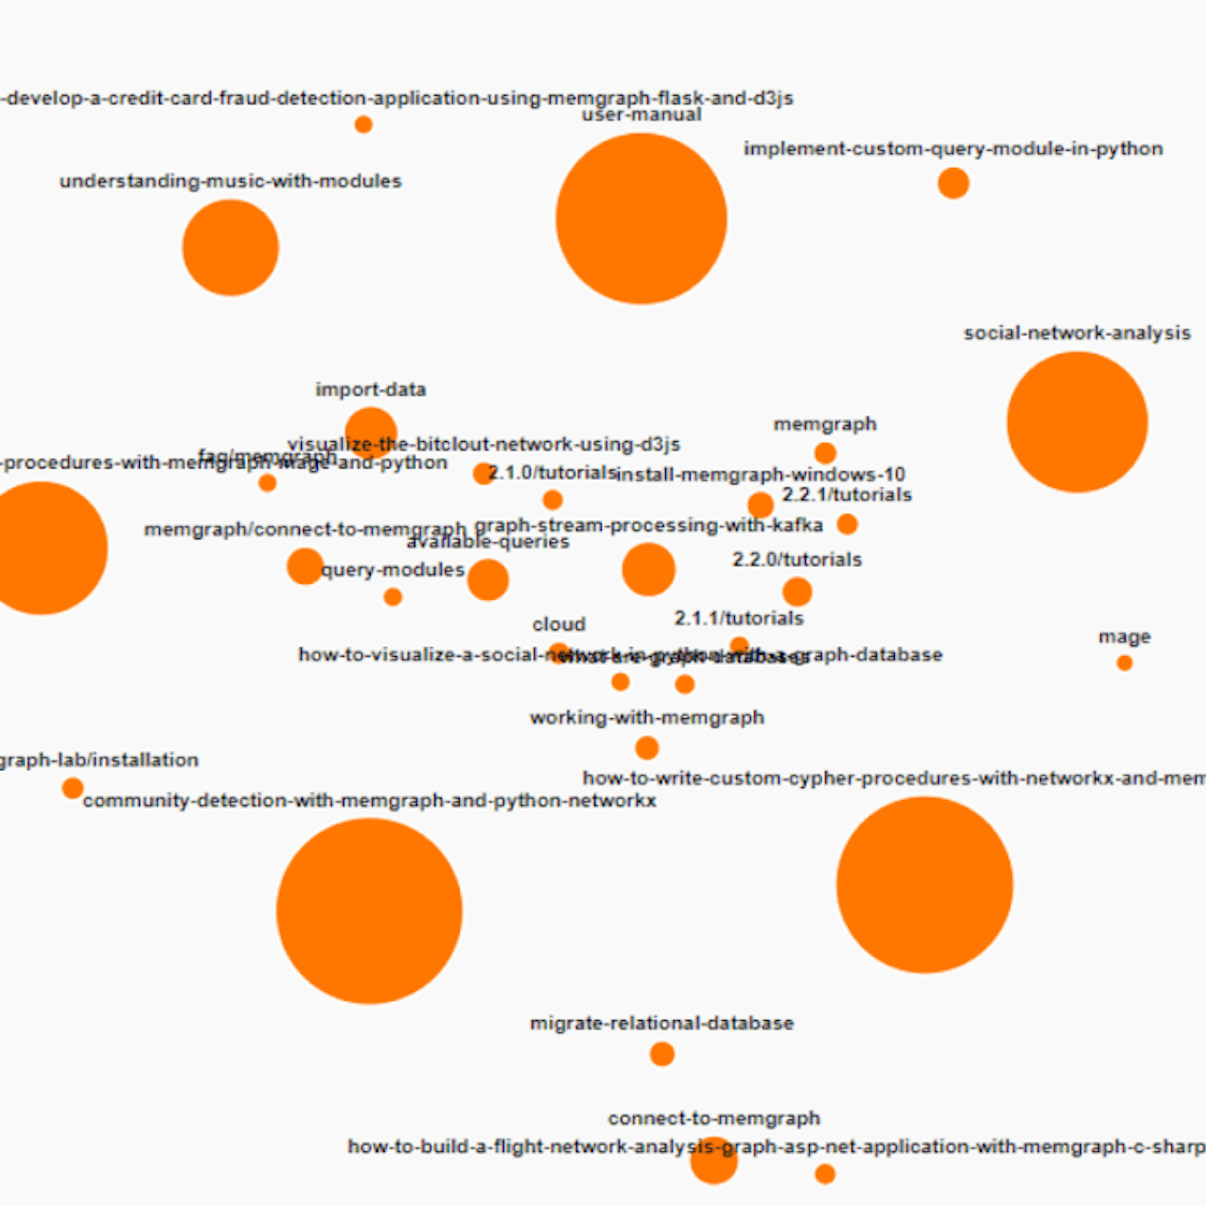
The image below shows the visualization of the algorithm output, where the larger node indicates that the corresponding page is more popular within the documentation.
Conclusion
A recommendation system can be a very useful tool for finding relevant suggestions for users and efficiently reducing search time. We hope you learned how to build a recommendation engine by using Memgraph’s graph algorithms and database or at least got an idea for building something similar on your own.
If this was interesting to you, check out the GitHub repo for more details. Also, if you want to provide feedback or share some thoughts, or talk about anything related to the project or Memgraph in general, let us know on our Discord server, or leave a comment in HackerNews thread.